Adafruit Proto Under Plate PiCowBell for Pico
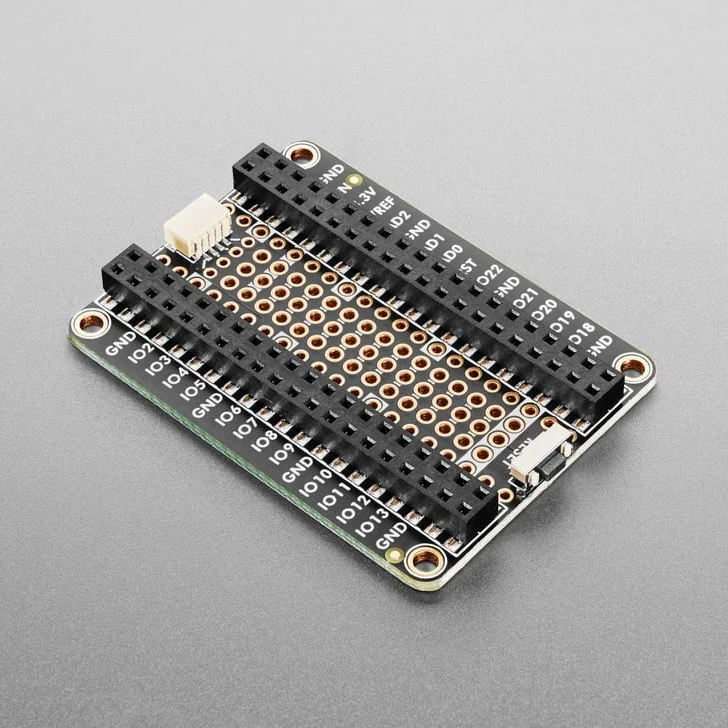
The Adafruit Proto Under Plate PiCowBell is intended to be treated like a mini solder-less proto plate to simplify programming and sensor connectivity for your Raspberry Pi Pico board.
Reset button? Yes! STEMMA QT / Qwiic connector for fast I2C? Indeed. Plug-and-play so no soldering necessary when used with a Pico H or Pico WH? Here you go!
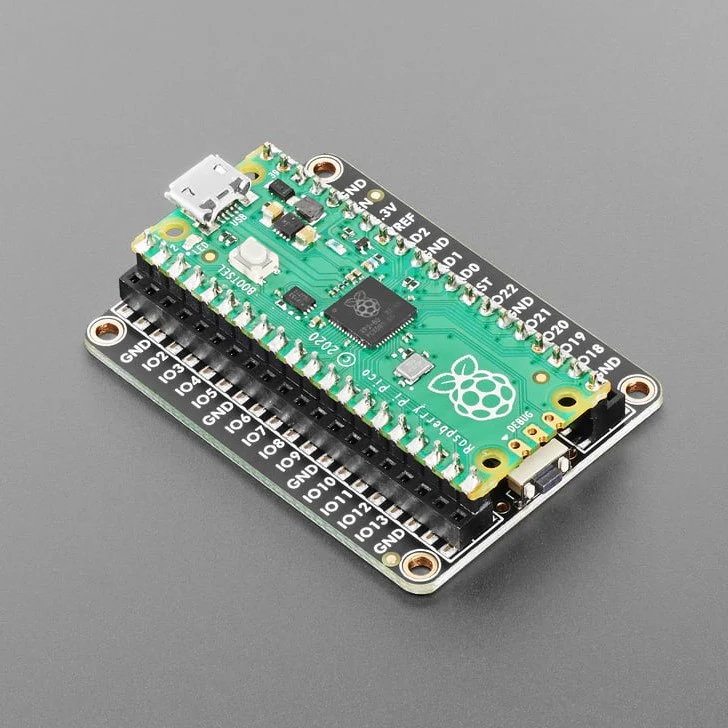
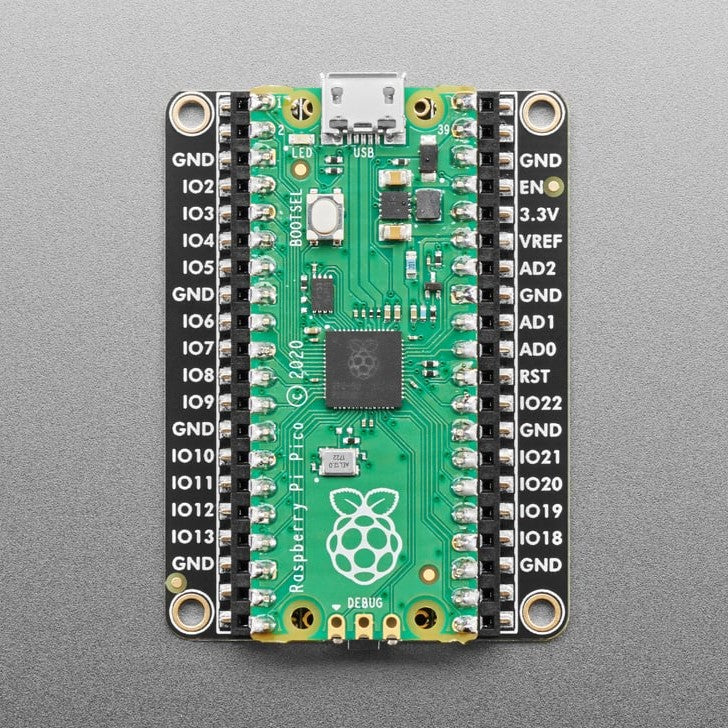
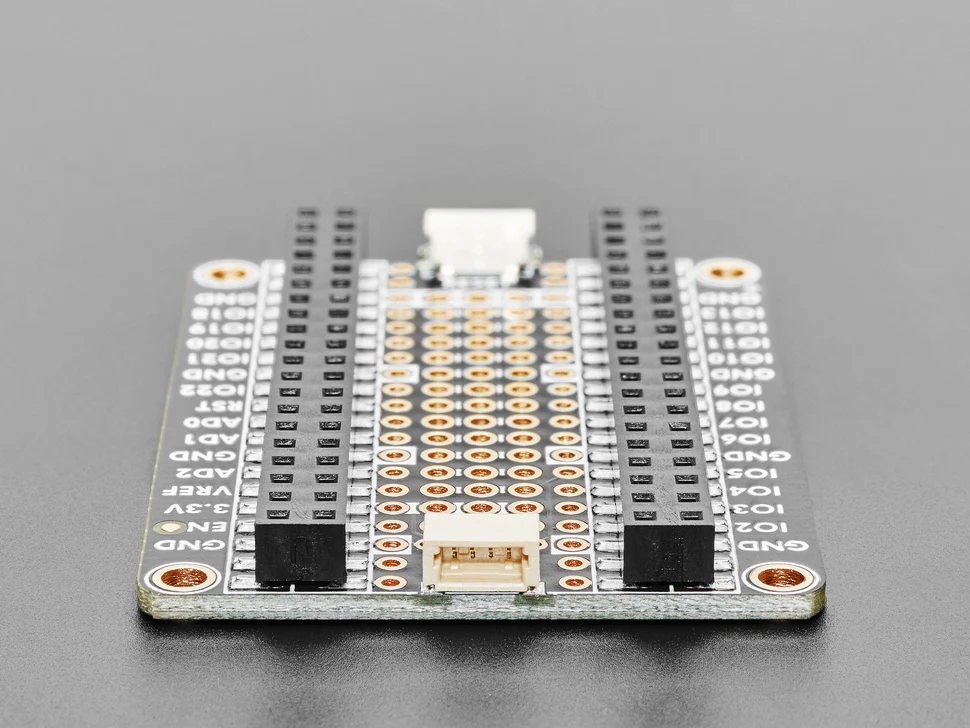
This board has double sockets already soldered on, you can plug in your Pico board directly in, and get access to a prototyping area underneath as well as a second row of socket pins. The second row means you can connect wires just by poking them into the header, either directly to LEDs or buttons or to jumper to a breadboard. So you don't have to look up or count pins, each socket is nicely labeled. There's also 4 mounting holes for easy attachment to an underplate.
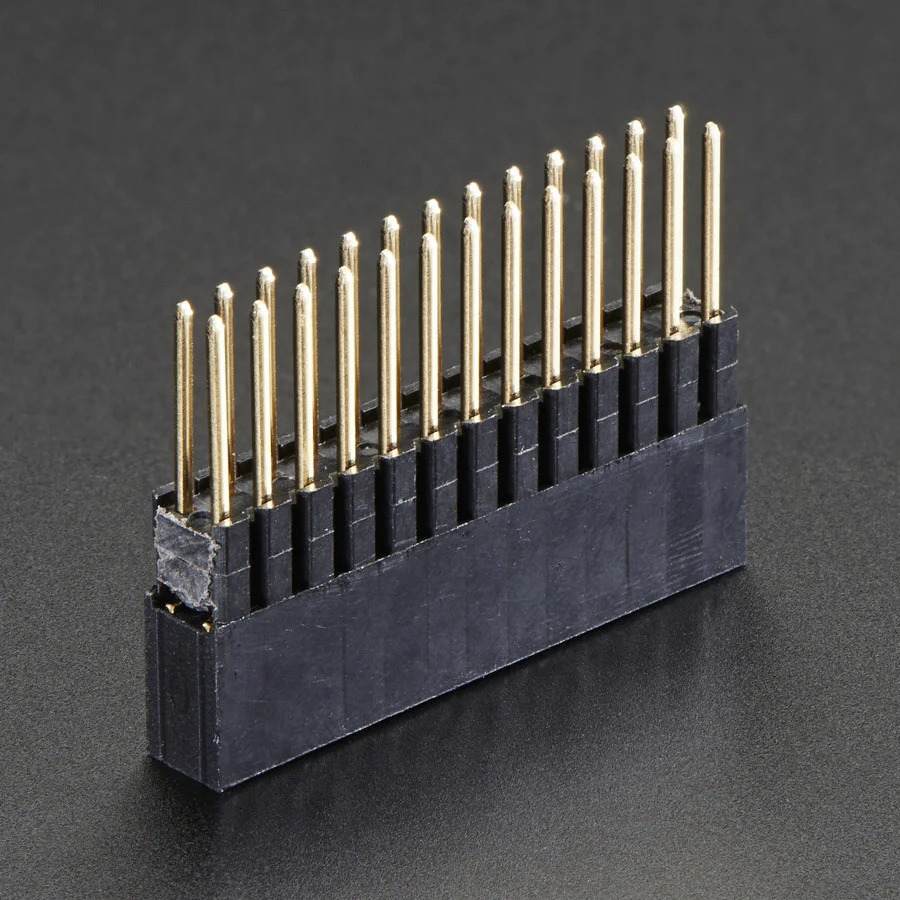
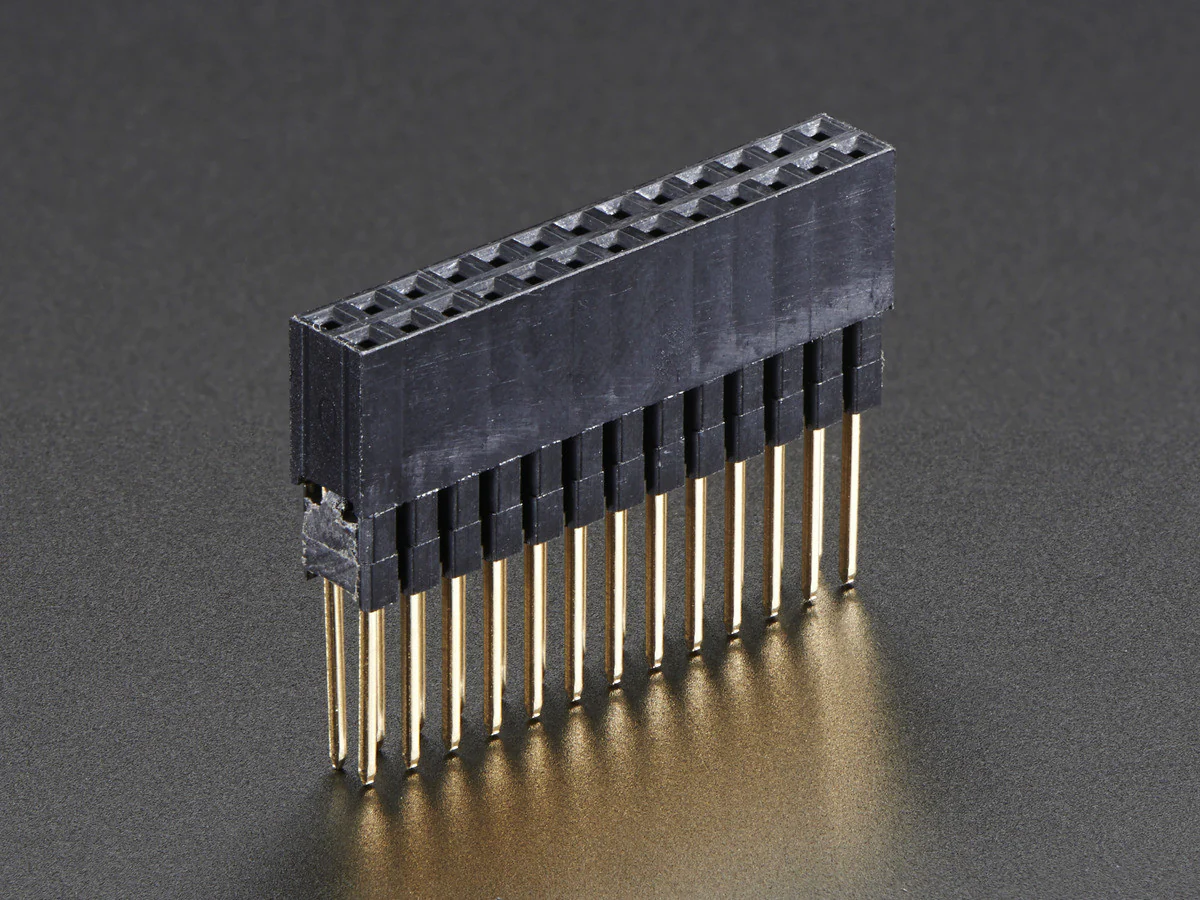
The dual socket headers we use are 'hollow' - that means you can connect through the back if desired. Specifically, you can use Pico Stacking Headers to plug through to some other device that is expecting Pico pins. Also, in theory, if you soldered pin headers on the 'wrong side' of a Pico, you could plug it up through the bottom.
We recommend picking up a set of little rubber feet to protect your desk if you're not mounting this board to something else.
The Proto Under Plate PiCowBell provides you with the following:
- 2x20 slim socket headers - plug in your Pico and have an extra row of sockets for each pin!
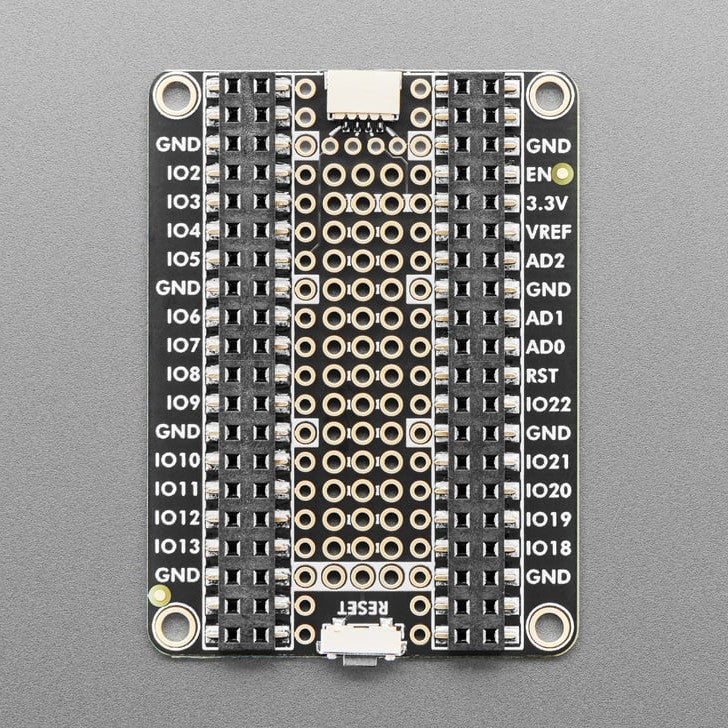
- Right angle reset button that sticks out the end
-
Right angle JST SH connector for I2C / Stemma QT / Qwiic connection. Or can use it for plain GPIO wiring if you don't have any I2C devices to attach. Provides 3V, GND, IO4 (SDA), and IO5 (SCL)
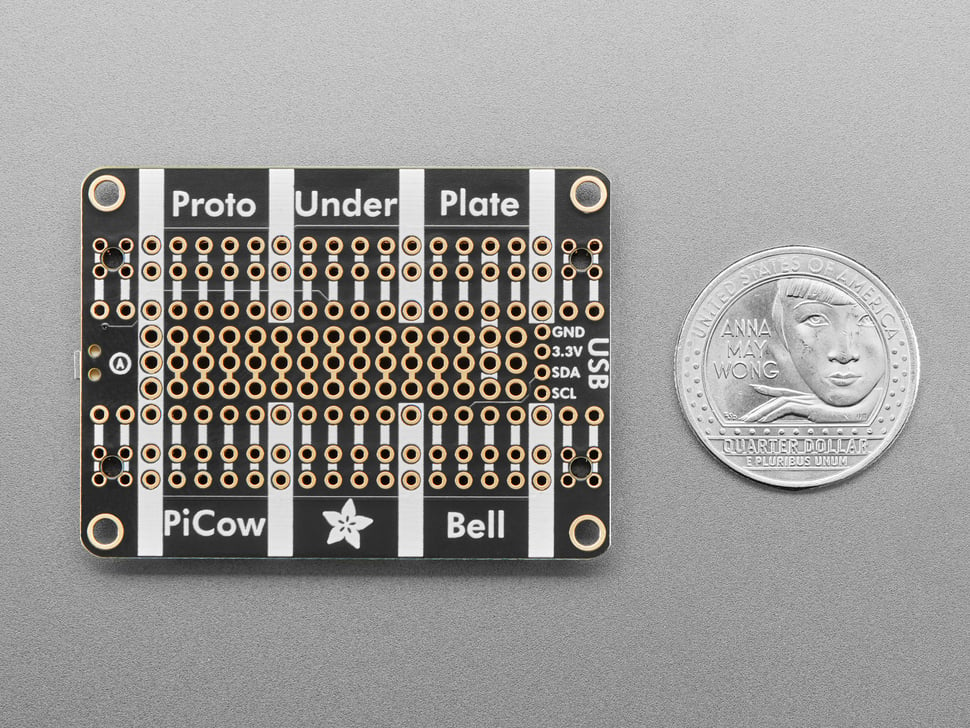
There is an extra set of 4 breakout holes next to the JST SH if you want more I2C connections or want to re-assign the I2C port. - 3 hole-connected strips are in the center area. You can cut the traces between the holes, but they're intended to be treated like a mini-mini breadboard
- Every pad on the Pico has a duplicate hole pad next to it for solder-jumpering
- The ground pads have white silkscreen rectangles to easily identify, plus one long ground strip near the reset button
- One long strip of connected holes for 3.3V power
- Gold-plated pads for easy soldering
We do not have I2C pullups on the board, but your Qwiic/QT breakout board or accessory likely already has them onboard. If using the Philhower Arduino core, the Wire peripheral is already set up to use IO4 and IO5. If using CircuitPython or MicroPython, you'll need to let the code know to look at 4+5 for SDA+SCL pins.
Technical Details
Product Dimensions: 52.0mm x 38.2mm x 5.6mm / 2.0" x 1.5" x 0.2"
Product Weight: 9.1g / 0.3oz


More Images
Adafruit Proto Under Plate PiCowBell for Pico
The Adafruit Proto Under Plate PiCowBell is intended to be treated like a mini solder-less proto plate to simplify programming and sensor connectivity for your Raspberry Pi Pico board.
Reset button? Yes! STEMMA QT / Qwiic connector for fast I2C? Indeed. Plug-and-play so no soldering necessary when used with a Pico H or Pico WH? Here you go!
This board has double sockets already soldered on, you can plug in your Pico board directly in, and get access to a prototyping area underneath as well as a second row of socket pins. The second row means you can connect wires just by poking them into the header, either directly to LEDs or buttons or to jumper to a breadboard. So you don't have to look up or count pins, each socket is nicely labeled. There's also 4 mounting holes for easy attachment to an underplate.
The dual socket headers we use are 'hollow' - that means you can connect through the back if desired. Specifically, you can use Pico Stacking Headers to plug through to some other device that is expecting Pico pins. Also, in theory, if you soldered pin headers on the 'wrong side' of a Pico, you could plug it up through the bottom.
We recommend picking up a set of little rubber feet to protect your desk if you're not mounting this board to something else.
The Proto Under Plate PiCowBell provides you with the following:
- 2x20 slim socket headers - plug in your Pico and have an extra row of sockets for each pin!
- Right angle reset button that sticks out the end
-
Right angle JST SH connector for I2C / Stemma QT / Qwiic connection. Or can use it for plain GPIO wiring if you don't have any I2C devices to attach. Provides 3V, GND, IO4 (SDA), and IO5 (SCL)
There is an extra set of 4 breakout holes next to the JST SH if you want more I2C connections or want to re-assign the I2C port. - 3 hole-connected strips are in the center area. You can cut the traces between the holes, but they're intended to be treated like a mini-mini breadboard
- Every pad on the Pico has a duplicate hole pad next to it for solder-jumpering
- The ground pads have white silkscreen rectangles to easily identify, plus one long ground strip near the reset button
- One long strip of connected holes for 3.3V power
- Gold-plated pads for easy soldering
We do not have I2C pullups on the board, but your Qwiic/QT breakout board or accessory likely already has them onboard. If using the Philhower Arduino core, the Wire peripheral is already set up to use IO4 and IO5. If using CircuitPython or MicroPython, you'll need to let the code know to look at 4+5 for SDA+SCL pins.
Technical Details
Product Dimensions: 52.0mm x 38.2mm x 5.6mm / 2.0" x 1.5" x 0.2"
Product Weight: 9.1g / 0.3oz
Product Information
Product Information
Shipping & Returns
Shipping & Returns
Description
The Adafruit Proto Under Plate PiCowBell is intended to be treated like a mini solder-less proto plate to simplify programming and sensor connectivity for your Raspberry Pi Pico board.
Reset button? Yes! STEMMA QT / Qwiic connector for fast I2C? Indeed. Plug-and-play so no soldering necessary when used with a Pico H or Pico WH? Here you go!
This board has double sockets already soldered on, you can plug in your Pico board directly in, and get access to a prototyping area underneath as well as a second row of socket pins. The second row means you can connect wires just by poking them into the header, either directly to LEDs or buttons or to jumper to a breadboard. So you don't have to look up or count pins, each socket is nicely labeled. There's also 4 mounting holes for easy attachment to an underplate.
The dual socket headers we use are 'hollow' - that means you can connect through the back if desired. Specifically, you can use Pico Stacking Headers to plug through to some other device that is expecting Pico pins. Also, in theory, if you soldered pin headers on the 'wrong side' of a Pico, you could plug it up through the bottom.
We recommend picking up a set of little rubber feet to protect your desk if you're not mounting this board to something else.
The Proto Under Plate PiCowBell provides you with the following:
- 2x20 slim socket headers - plug in your Pico and have an extra row of sockets for each pin!
- Right angle reset button that sticks out the end
-
Right angle JST SH connector for I2C / Stemma QT / Qwiic connection. Or can use it for plain GPIO wiring if you don't have any I2C devices to attach. Provides 3V, GND, IO4 (SDA), and IO5 (SCL)
There is an extra set of 4 breakout holes next to the JST SH if you want more I2C connections or want to re-assign the I2C port. - 3 hole-connected strips are in the center area. You can cut the traces between the holes, but they're intended to be treated like a mini-mini breadboard
- Every pad on the Pico has a duplicate hole pad next to it for solder-jumpering
- The ground pads have white silkscreen rectangles to easily identify, plus one long ground strip near the reset button
- One long strip of connected holes for 3.3V power
- Gold-plated pads for easy soldering
We do not have I2C pullups on the board, but your Qwiic/QT breakout board or accessory likely already has them onboard. If using the Philhower Arduino core, the Wire peripheral is already set up to use IO4 and IO5. If using CircuitPython or MicroPython, you'll need to let the code know to look at 4+5 for SDA+SCL pins.
Technical Details
Product Dimensions: 52.0mm x 38.2mm x 5.6mm / 2.0" x 1.5" x 0.2"
Product Weight: 9.1g / 0.3oz